Multimedia Plus record live presentations

How to Record Live Presentations

We’re often asked how to record live presentations, so that our clients can share with those who were unable to attend or those who want to view again.

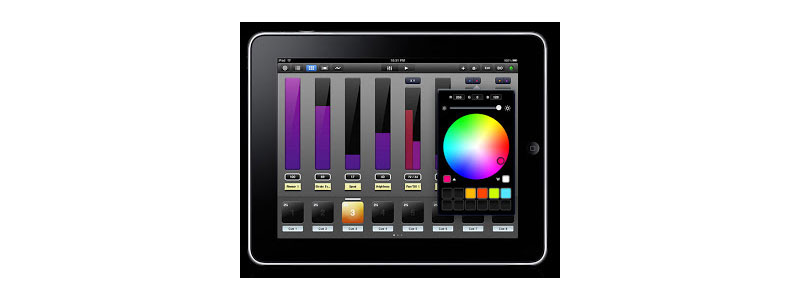
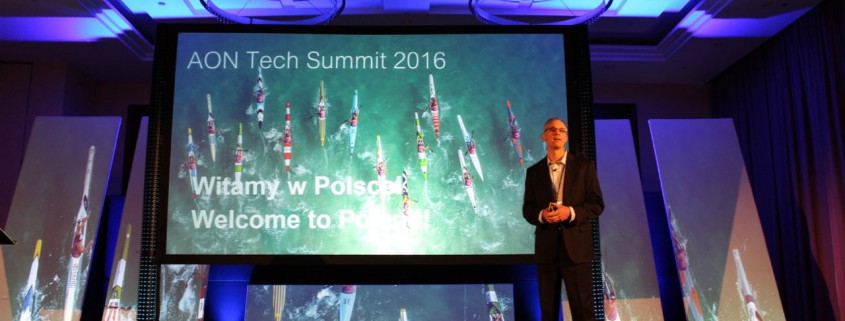
In response to this, we use Atomos Ninja-2 recorders, which captures a slideshow’s content with a presenter’s commentary. This requires very little (if any) post-production work, saving both time and money. It works particularly well for small events, or on larger events with multiple ‘breakout sessions’.

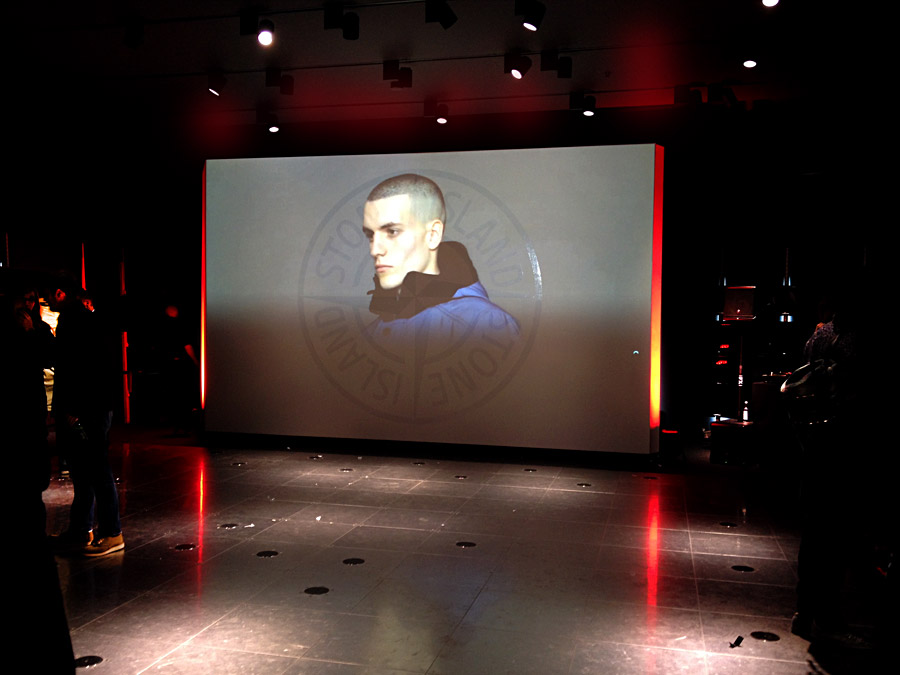
A slightly more elaborate set-up can incorporate live camera footage of the presenter into the final video. For this, we use two Atomos recorders: one for capturing the slideshow and one for the camera, with both taking live audio feeds from the mixing desk. The editing takes considerably longer, as the editor must choose whether to display the slideshow or live camera.

The final videos can be made available online—either directly by the client (we send them the video files) or hosted through a website such as Vimeo. This makes the videos easily accessible for online streaming and download.

The technical bit:

Atomos Ninja-2 can record in Apple Pro-Res HQ, Apple Pro-Res 422, or Apple Pro-Res LT formats.

We recommend recording slideshows in Pro-Res LT, which results in smaller file sizes (particularly when filming for a day or more). When creating a slideshow/audio video we drop the frame rate of the slideshow to 5fps (frames per second) since it is not necessary to have it any higher and it will speed up the rendering process. However, if we’re incorporating camera footage, we want the frame rate to match, so recommend 25fps.

For camera capturing, we use Pro-Res HQ as we want maximum quality footage. This extra quality can be particularly useful if we have to crop, zoom in or modify footage during post production.

We use 1TB SSD drives for capturing—which provide ample disk space—and we backup the drives at the end of each day of recording. The Atomos recorders are each supplied with a ‘master caddy dock’, which connects via USB to a computer (and means you don’t need an SSD drive reader).

iPad as a Wireless Lighting Desk

On a recent show, we used an iPad as a Wireless Lighting Desk.

Recently we’ve been saving ourselves hours of time and effort on shows by using the app Luminair (from Synthe-FX), which allows us to wirelessly control DMX lighting fixtures over WiFi via our iPad on some of our smaller shows.

By setting up a dedicated wireless network (using an Apple airport extreme and an Art-Net ethernet/DMX box), we get the iPad to communicate with the receiving DMX lighting fixtures and control them via the Luminair app.

With more complex lighting desks we spend a lot of time programming, but with Luminair it’s easy to control the fixtures on individual faders—or in collective DMX groups. The options on each fader allow us to adjust the intensity and colour of each fixture, as well as different FX options being at our disposal. We can programme sequences to create lighting chases, which proved very useful on a recent show when the client required disco lighting during a band’s live performance. The ability to create different ‘scenes’ means we can easily flick between show states, for instance having a walk-in, a show state and another show state with lectern spots up (see below).

ShowStates_sm


We use battery-powered uplighter, which allow us to have a completely wireless setup for our up-lighters. This saves us time when rigging, since we no longer have to run power or DMX cables to these fixtures. By recently investing in a couple of small portable dimmers and combining them with wireless DMX dongles, we’re also able to control our spot lights through Luminair. This gives us complete control over all our fixtures on the show.

London Party

We were asked by Four Marketing to provide a focus backdrop for Arena+ magazine’s 20th anniversary party.

We used two high-power projectors, blended to make one screen for the party at Stone Island’s flagship store in London.

The content was produced with one of our Dataton Watchout systems, using 3 varying length time lines with video, photographs of magazine covers and advertisements. All 3 timelines were different lengths, so the program continually varied throughout the evening. The image was projected over a matt white background, with a gloss white vinyl Stone Island logo, which added another dimension to the final image.

The focal points was the projection, flanked by 2 high power LED uplighters.

Stone-Island-IMG_2850